Showing posts with label Caker Crafts. Show all posts

Wednesday, 17 December 2014

Cardboard Tube Christmas Tree


It’s a fact. I can’t wrap presents to save my life. I cut the paper all crooked, the scotch tape always gets stuck in my hair (that's after using it on my nose like a Biore strip) and just try writing out someone’s name on one of those teeny-tiny gift tags. Especially if that person’s name is Mephistopheles.

The upside to wrapping presents? You’re left with all those cardboard tubes. And when you have cardboard tubes, you have the makings for another wonderful caker Christmas craft. We don’t let anything go to waste. Cakers are the original recyclers.

Why, just look at this majestic Christmas tree. I bet you'd pay close to $20 for this at Sears. But I made it for mere pennies. You can decorate it any way you want. Just be careful when using the X-Acto knife. If you think wrapping presents with ten fingers is hard, just try wrapping them with nine.

Come back Friday for my final holiday recipe. Then it's my Caker Christmas party round-up on Monday!

Instructions:


1) Cut the cardboard tube into 1-inch pieces.


2) Watch your fingers or else you'll end up like this!
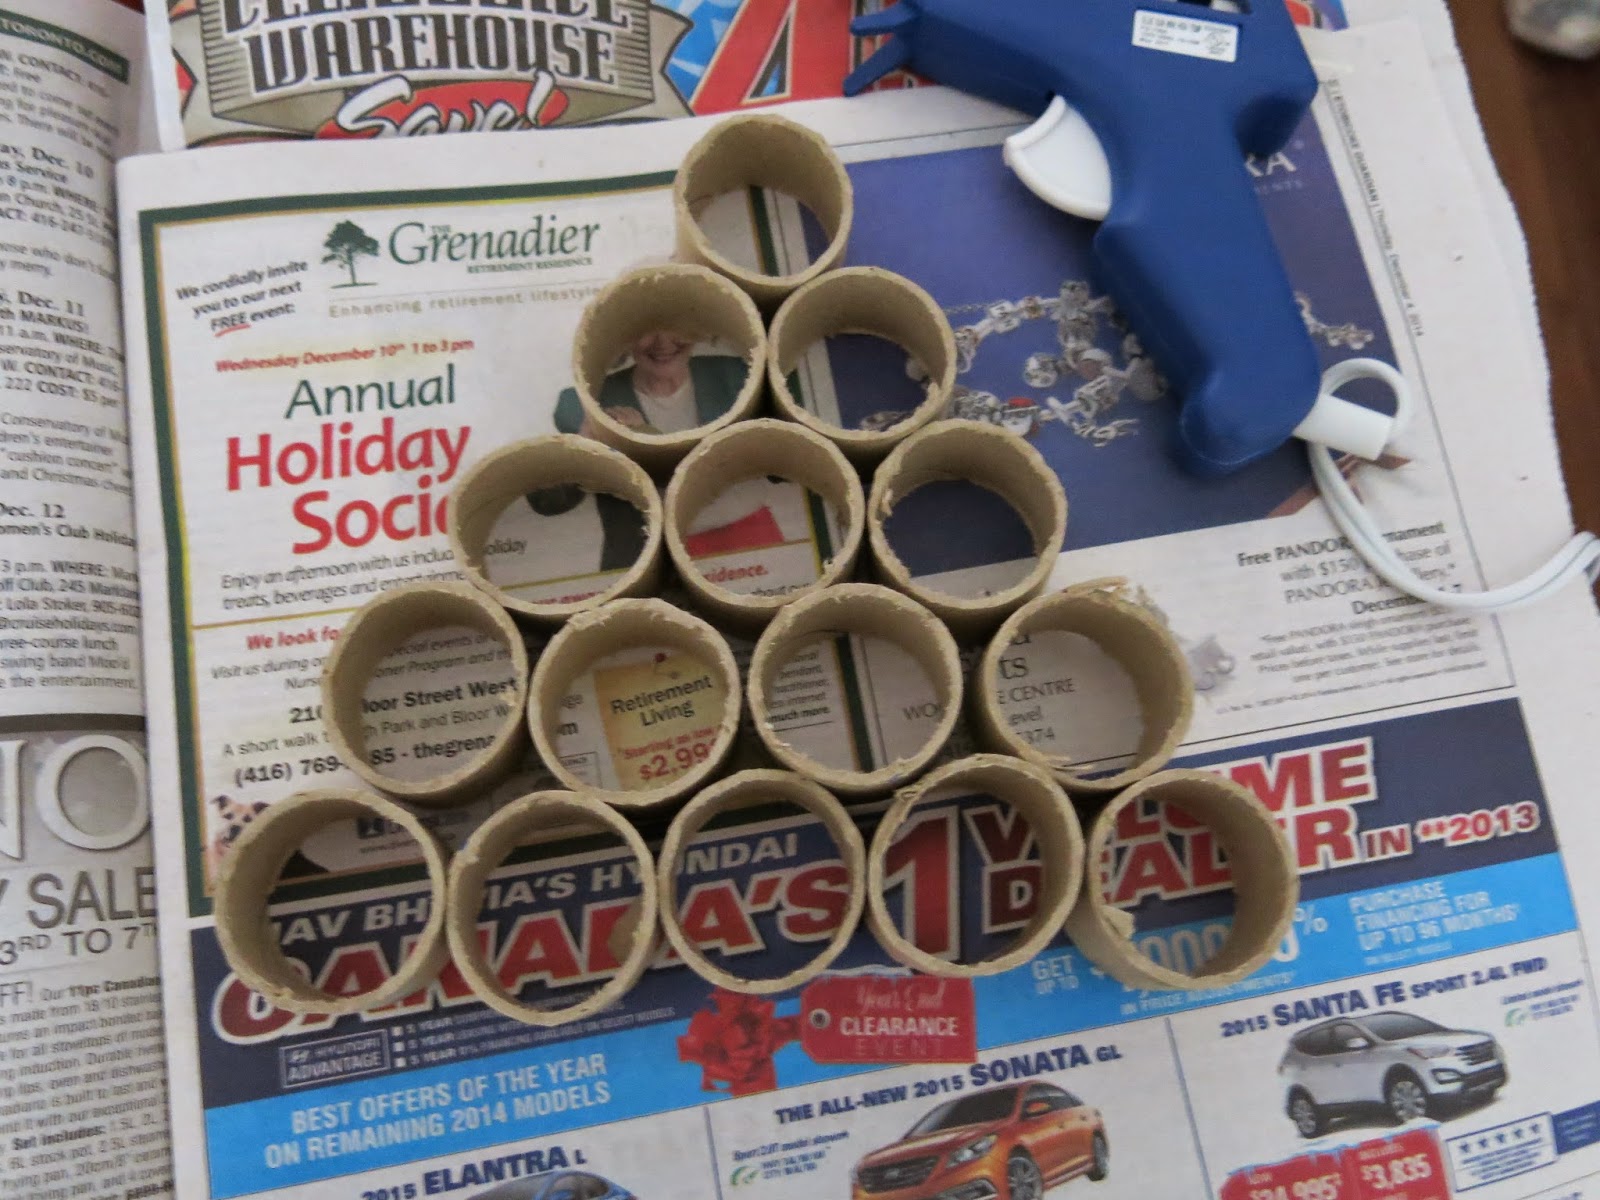


3) Glue the pieces together in the shape of a tree, spray paint the crap out of it and decorate with balls, ornaments, hair, whatever you fancy!

Wednesday, 10 December 2014

Egg Carton Christmas Ornaments


I was shopping for holiday ornaments on the weekend and was shocked by the prices. Good lord! What are decorations made of these days – eighteen carrot gold? There’s no reason to spend that kind of money on objects that will only come crashing to the floor when your uncle puts on the felt reindeer antlers and stumbles into the Christmas tree after one too many rum and eggnogs.

These egg carton ornaments are great because they’re cheap and give you free reign to express your creativity to its fullest.

Sort of.

I bought a package of letter beads at the dollar store, thinking I’d spell, “Best Wishes for Eternal Peace and Everlasting Hope to You, Mother.” But I was shortchanged on letters! There were no r's, s’s or t’s! There were four c’s, but what word has four c’s in it? Honestly, I was so mad.

Anyways, the best I could come up with was “May Xmay” which I’m sure means something. To someone. In another part of the world. I don’t have my Christmas tree up yet, so I had to go outside with my camera and take photos in my neighbour’s bushes. I had a lot of explaining to do when the cops showed up. LOL!

Instructions:


1. Get an egg carton.


2. Cut two of the pockets out and trim them. If you want to paint the inside, do it at this stage.


3. Cut triangles into the sides and glue together. Then decorate! You can paint them, put things inside the cups and hang beads off them. The sky’s the limit! (Unless you buy alphabet beads from the dollar store.)


Wednesday, 3 December 2014

Old-Fashioned Salt Dough Ornaments


My Caker Cooking Christmas Extravaganza continues with a timeless holiday craft bound to give you minutes of enjoyment!

If you’re not talented, not to worry. So long as you can roll dough and pour salt, you can make these heartsome old-fashioned salt dough ornaments. Salt dough, like most caker foods, will last for years and years. Imagine the wonder that your grandchildren’s grandchildren will feel as they gently unwrap these handcrafted legacies of dough from their nests of yellowed paper towel and hang them on the tree. (Or whatever they’ll use for trees in the future. LOL!)

A word of caution: don’t eat the dough. You’ll be tempted, believe me. You’ll be rolling it out and using the cookie cutters and they’ll get all browned up in the oven and when you take them out, you’ll think to yourself, “Maybe just one.” Folks, don’t. It’s not worth it. They don’t taste good. Especially after they’ve been painted. Trust me on this one.

See you back here on Friday for a classic caker holiday recipe. Stock up on the sugar and put the dentist on speed-dial.

2 cups flour
1 cup salt
1 cup water

Mix ingredients until dough forms. Use assorted cookie cutters to cut out shapes. Use a toothpick to form a hole near the top of the ornament before baking. Bake at 350°. (See note 1) Let ornaments cool completely. The ornaments can be painted or stained with tea.

I like to add scarves, cut from scrap material, to my Gingerbread men and Snowman. I use fishing line to string my ornaments from the tree. (See note 2)

Note 1: I let mine bake for about a half-hour. Just keep an eye on them.

Note 2: That’s the lady who submitted the recipe talking, not me. I don’t use fishing line. I use folded-out paper clips. They're classier.

Source: National Mfg. Co., 1901-2001, Centennial Cookbook

Friday, 4 April 2014

Clothespin Wishing Well


Today, I’m trading in my apron for a smock. It’s Caker Craft time!

For most of us, spring means one thing: dusting off our Thighmasters and getting back into shape. But it’s also a time for foiled-wrapped eggs, gaucho pants and the enchantment of a moss-covered wishing well in the middle of a dewy meadow.

Here’s a wishing well guaranteed to give you hours of enjoyment. Alls you need are wooden clothespins, a baby food jar, glue and some moss. If you can’t find moss, just scrape some green stuff off old cheese.

Use your wishing well to store change or to house your sea-monkeys. If you’re feeling really creative, paint it with Liquid Paper. Make sure you put a clothespin on your nose before you do. Otherwise, you might start having hallucinations of naked Druids dancing around a Maypole. I’m speaking from experience.

Instructions:

Separate clothes pins. Be careful the metal piece doesn’t coming flying off. This craft is fun, but it’s not worth losing an eye over.

Next, eat a jar of baby food, but not the kind with beef and vegetables. Trust me, it’s disgusting. Clean out the jar unless you want your wishing well to smell like a real wishing well.


Glue the separated clothespins around the jar. Make sure to get the flat edges level so your well isn’t all wobbly.


Glue two sticks on either side to act as your roof posts.


Glue together four sticks. Do it again. Then attach the sides of your roof to the posts.


Now, make a wish and cue the Terence Trent D’Arby.

Wednesday, 18 December 2013

Homemade Christmas Crackers


No caker holiday table setting is complete without a Christmas cracker lovingly laid across your paper plate. But have you seen how goldern expensive crackers are? And for what – some explosives and a plastic animal pendant? Not worth it in my books, folks. Not worth it at all.

Why not make your own with toilet paper rolls? Granted, they don’t explode, but just get everyone to yell “POP!” when they yank the crackers apart. Best of all, you can customize your crackers. It’s a way of showing people what you really think about them. Here’s how you make them:

Take a toilet paper roll or paper towel roll (cut it in half)


Select things you want to put inside. For this one, I included some Canadian Tire money, a few pieces of dry pasta, some lip balm that I found, a rubber band, a googly eye and an egg.


Stuff everything inside the tube, then wrap it up in some wrapping paper. Tie both ends with a ribbon. Decorate it as you wish. It’s that easy!


Need inspiration? Here are some things that any caker would love to find in his or her Christmas cracker.
  • Suppository
  • Packet of Taco Bell sauce (mild)
  • Clip-on earrings
  • Stick of Freedent gum
  • Baby aspirin
  • Raisin
  • One of those plastic bread bag closure thingies (I’m forever losing mine. LOL!)
  • Piece of dental floss
  • A chocolate from a box of Pot of Gold (just not the orange one – no one likes those)
  • Shoelace
  • Latch hook tool
  • Rain bonnet

Wednesday, 11 December 2013

Reader's Digest Christmas Tree


Cakers love Reader’s Digest. It’s like the casserole of magazines. Take some health tips, add a dash of fire prevention, whisk in a few jokes, sprinkle an Anne Murray interview on top, eh voila – dinner is served! Simply put, it’s the biggest magazine in the smallest amount of time. And if that doesn’t sum up the caker way of life, I don’t know what does.

Here’s another bonus – you can make Christmas trees out of old issues! Just note that one magazine only makes a half tree. So either put your tree in front of a wall or use two magazines to make a whole one. Or keep turning your half tree around as your guests move around the room.


Special thanks to Caker Cooking reader Stephanie for telling me about this!

Here's how you make one:


Take a Reader’s Digest, preferably with a photo of a firefighter carrying an elderly person on the cover.


Fold the upper corner down to make a big triangle. Then fold the lower corner up. Do this over and over until your fingers hurt real bad. Tear off the covers.


And there you have it!

Leave it as-is or spray paint the crap out of it.


Wednesday, 4 December 2013

Walnut Mice


It twas the night before Christmas,

And all through the house,
Not a creature was stirring
Not even a…walnut?!?

Oh, ha ha! I meant a mouse.

Or did I?

My month-long Caker Christmas celebrations continue with this squeaklingly fun Christmas craft. Alls you need are walnuts, five minutes and a vision. Oh, and googly eyes.

Here’s how you make them:

1) Buy some walnuts. Make sure they’re still in the shell. Otherwise, your mice will look weird.

2) Take something sharp and split open the walnuts.

3) Scrape out the nuts and reserve for your next batch of Church Windows. Or mix with vanilla ice cream, top with maple syrup and serve to a senior. They go bonkers for maple walnut ice cream.

4) Glue some googly eyes onto the shell, along with a pompom for a nose and two for the ears. Take a pipe cleaner and twist it around your finger. Then glue the tail to the back of the shell.

It’s that easy! If you really want to get creative, put some wires in the nose for whiskers. Or make a miniature Santa Claus hat. Or a smart little pantsuit. The sky’s the limit!

See you back here on Friday for a tree-tastic recipe.


Wednesday, 19 December 2012

Carousel o' Cards


There's nothing more heartwarming than opening your mailbox to find it filled with holiday cards and letters from family and friends. Everyone seems so happy. You never see so many exclamation marks at any other time of the year!!!

Rather than stick your cards in a basket – or worse, the recycling bin – why not make a Carousel o’ Cards to display that paper love in all its glittery glory? I can’t think of a better way to tell the world, “Look at all the people who think I’m worth a stamp!!!”

You just need a large can, some yarn and – what else? – gold spray paint. Oh, and cards. But you’ve got those coming in by the truckload these days.

Instructions


Take a large can (I used a tomato juice can), cut out the bottom and top lid and then spray paint the crap out of it.


Loop yarn all the way around it.


Et voila! Simply slip your card through a yarn string.

Hopefully, you fill yours up. In my case, I don't show the other side.

Wednesday, 12 December 2012

Macaroni Christmas Tree


There really is no shortage of caker crafts you can make this holiday season. Alls you need is gold spray paint, access to a dollar store and about four minutes.

This macaroni Christmas tree is a cinch to make – and just look at the results! You'd probably pay close to twenty dollars for this in the Sears catalogue.

The instructions said to use white glue, but I had a problem getting the macaroni to stick. Plus I kept eating it. (The glue, I mean, not the macaroni.) So I brought out the ol’ glue gun and managed to burn off a few layers of my fingertips. Be careful! Especially when gluing on those little elbow buggers. I was cussing a blue streak. But all the pain was worth it. Now if only I could type without having to use the end of a pencil.

Instructions:

Buy an assortment of different shaped pasta. 


Glue in a pattern around a Styrofoam cone. Then spray paint the crap out of it. I set mine in a terra cot pot that I also spray painted the crap out of.

Source: Make Your Own Accessories For Every Room, 1971
Special thanks to Georgia for loaning me her book!

Wednesday, 5 December 2012

Ye Olde Christmas Milk Carton Lantern


Before there was electricity, cakers from ancient times had to rely on candle-lit lanterns at night to safely guide them to the outhouse. Sometimes, they carried shotguns on account of the coyotes. (Pronounced kai-yoats in those days.) Here’s a Christmas craft that pays homage to the bravery of our toiletless ancestors while adding some modern day dollar store jeuge.

Ye Olde Christmas Milk Carton Lanterns are easy to make and add that touch of personal pizazz to your holiday table or toilet tank. Just make sure you wash the milk carton really good before you use it. Otherwise, people might assume that smell is coming from you. I’ve lost a few friends that way.


Instructions:

Take a milk carton and cut out rectangles on all four sides.


Spray paint the crap out of it.


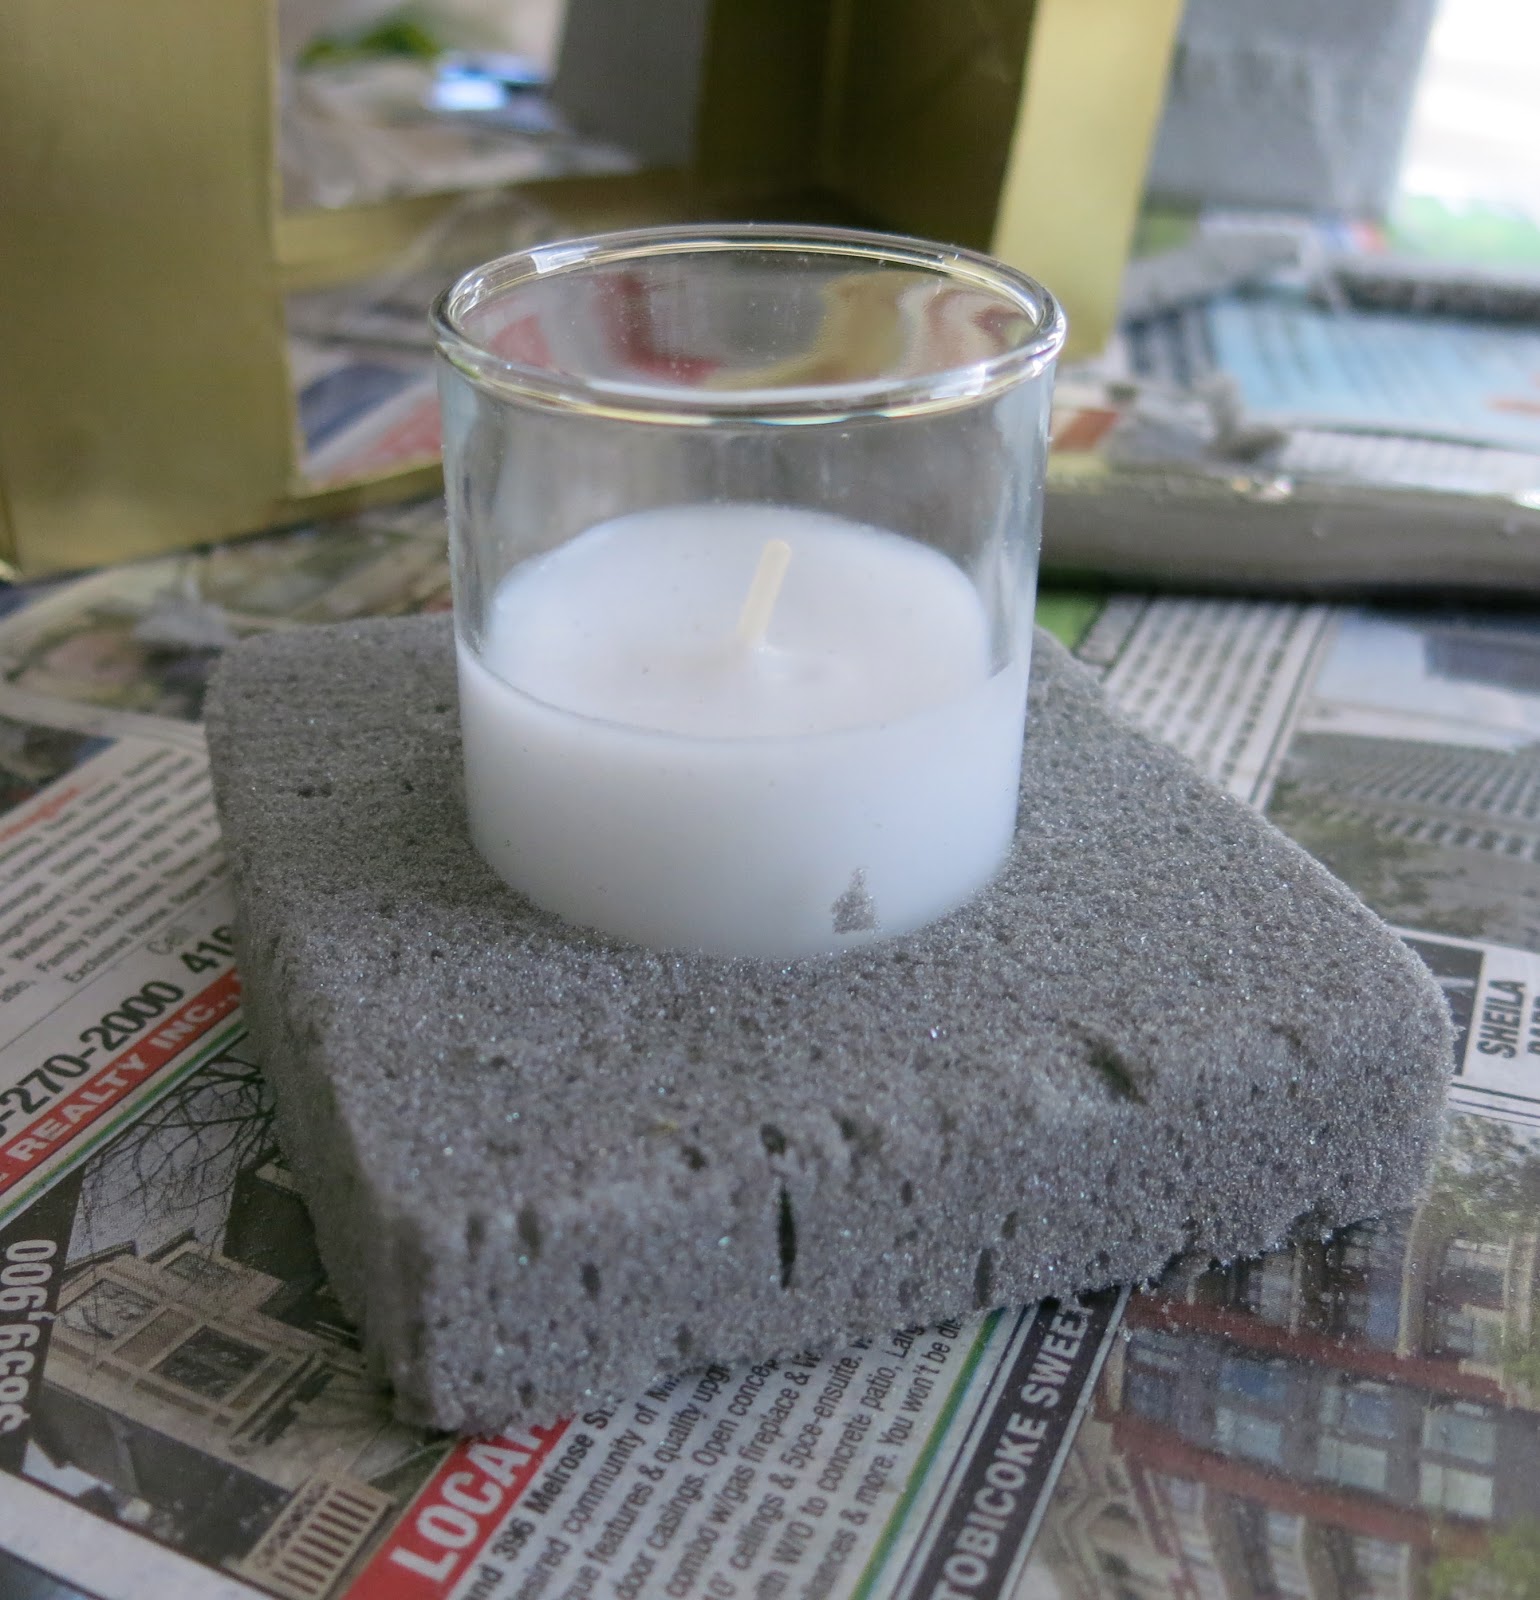
Cut one of those grey foam thingies to fit the bottom of the carton, then cut out a circle in the centre and insert your votive. Set it into the bottom of the carton and add your greenery, bells, etc.

Note: Never light this. 
If you do, I guarantee you’ll have the worst Christmas ever.


Monday, 29 October 2012

Apple Head Doll Competition

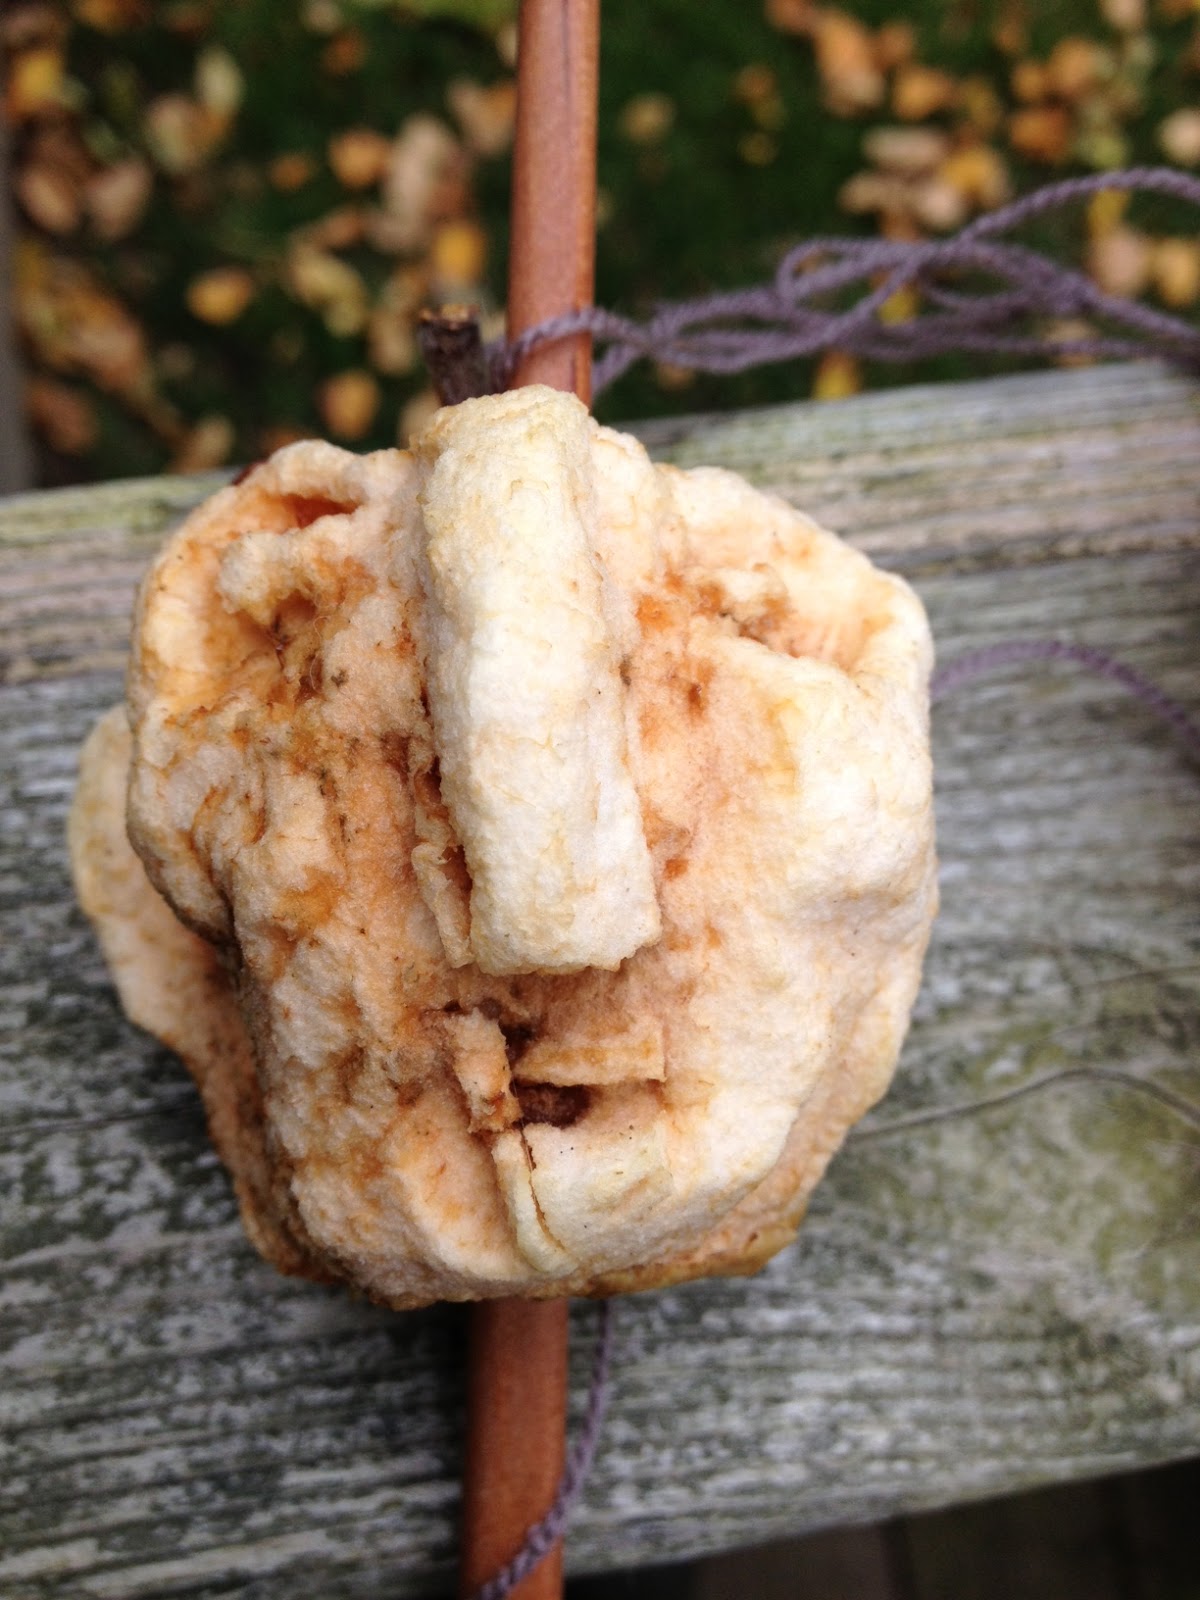
Hello, internet people. I'm Mildred. The caker fellow asked me if I'd host his Apple Head Doll contest because he's too busy cooking something grey.

Below you'll find some new friends of mine and it's up to YOU to pick the winner. Voting will close next Sunday, November 4 and the winner will be announced on Monday, November 5.

The grand prize winner will receive a delicious collection of cookbooks from Random House Canada.

In the top right corner of the blog, you'll see a list of the apple head doll names. Simply vote for your favourite. You can vote as many times as you like and also for more than one apple head doll.

May the best head win! I'm off to have a piece of Gumdrop Cake.

Mildred

1) Honey Boo Boo
Note from the apple artiste: Mine is called Honey Boo Boo because it was made from a honey crisp apple and it sucked.


2) Norbert "Bert" Birdie
Note from the apple artiste: A simple man in simpler times. Norbert "Bert" Birdie was a timeless classic even in his day. Women wanted him and men wanted to be him. Cool, self assured and in control. "Work hard, play hard." was his motto. He died of liver failure in 1947.


3) Monsieur Pépin
Note from the apple artiste: This is his mug shot after a particularly long afternoon at the café. He's tired and a little achy. But he's still sporting his beret.


4) Josh Romney
Note from the apple artiste: To see the real one, click here.


5) Bea Leach
Note from the apple artiste: Extreme premature aging (from tanning with baby oil and tin foil back in the 70s) disintegrated Bea's head. Wear sunscreen, folks.


6) Maroushka 
Note from the apple artiste: She has something of the gypsy about her, so I think her name is appropriate.


7) Mr. Smith
Note from the apple artiste: In an attempt to speed up the drying process, I used my oven, on low heat. It seemed to be working until my betrothed turned on the oven to make chicken fingers and ended up baking my apple head.


The grand prize winner will receive the following books:


Marshmallow Madness


Tiny Food Party!


Real Snacks


Little Old Lady Recipes