Monday, 16 September 2013

Reader Recipe: Candle Salad


The wholesome fun of reader recipe month continues!

There are lots of things I don’t understand about vintage caker cooking. For example, why would you solidify a garden salad or add tomatoes to JELL-O? But of all the caker mysteries, candle salad never fails to, er, rise above the pack.

I have a hard time believing anyone could serve this with a straight face. I mean, it has dribbles of mayonnaise, for crying out loud. I know housewives from the '50s seemed pretty naïve, but Lucy had a kid, after all. She must’ve seen Ricky’s babalu at some point. Didn’t she see what we’re seeing? (I have a feeling Ethel knew, but Ethel had a past. You could just tell.)

This recipe was sent to me by readers Zöe and Jenny. Jenny runs the blog Silver Screen Suppers. She sent the recipe because it calls for a Life Saver – something that Jenny tells me they don’t have in England. I think that’s terrible. I mean, what joy can be found at Christmas without a Life Saver book wedged into your stocking?

Look very closely at Anne Shirley's eyes. Does she know or not? She knows, right? Tell me Anne knows.

Thanks Jenny and Zöe! Do YOU have a caker recipe you'd like to share? Email me at cakercooking at gmail dot com and I'll do my best to feature it.

1 can sliced pineapple
2 bananas
1 package of life-savers
1 bottle of maraschino cherries

Take a leaf of lettuce to decorate the plate and place on top of that 1 slice of pineapple. Cut the banana in half and place 1/2 in the hole the pineapple. Place the cherry on top of the banana half (see note). Then take 1 life-saver and put it about 1/2-inch above the pineapple into the banana. Then cover the top with mayonnaise. Then you have completed the candle stick. The pineapple is the holder, the banana the candle, and the cherry the flame, and the mayonnaise the drippings, and the life-saver is the handle.

Note: My candle had a, uh, slight curve to it. So I had to affix the cherry with a tooth pick.

Source: Anne Shirley via Jenny

Here's more on Anne, if you're interested

Friday, 13 September 2013

Ice Cream Bread: Version 2.0


When I kicked off Reader Recipe month earlier this week, I couldn’t have imagined the kerfuffle ice cream bread would cause. As you’ll see in the comments section, everyone had an opinion about what to do – or not do – to make this two-ingredient bread better.

When Stephanie commented that she’d made a version with a cake mix and not flour, I did what any self-respecting caker would do – put on my slacks, ran out to No Frills and whipped me up a brand new loaf. (America’s Test Kitchen's got nothing on me.)

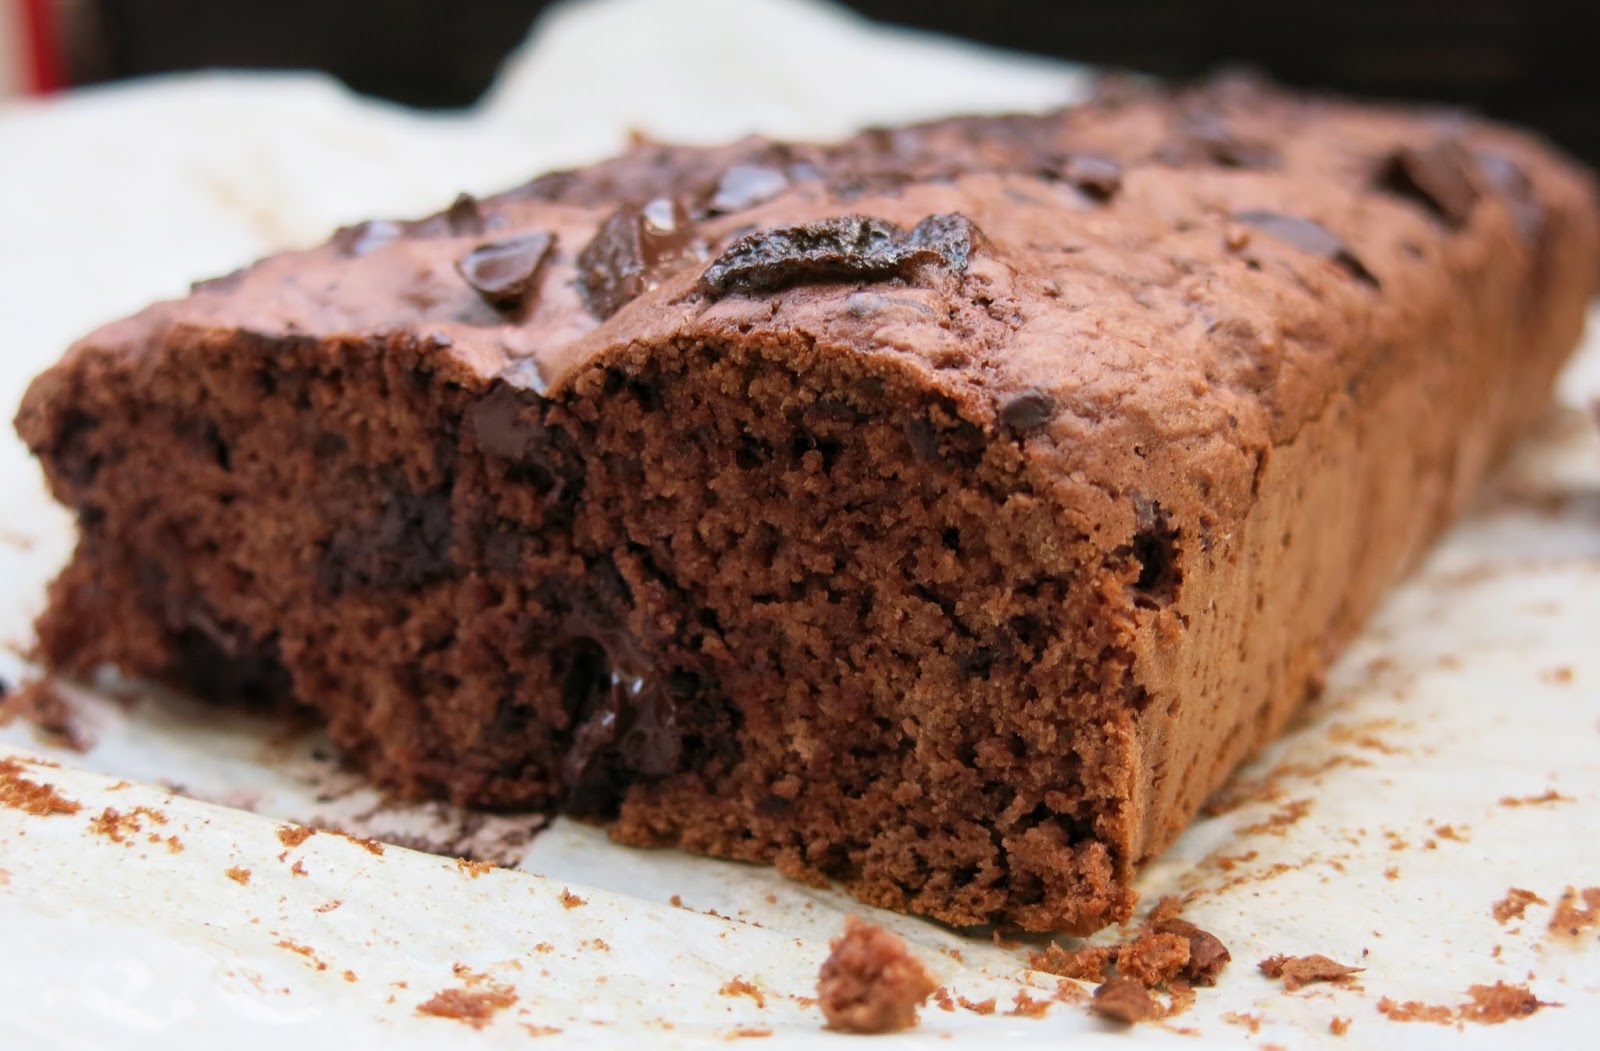
I opted for a chocolate fudge cake mix and Rolo ice cream. Following Stephanie’s instructions, I melted two cups of the ice cream, stirred it into the mix, poured it into a loaf pan and baked it for about 55 minutes at 350.

The result? Ice cream bread, thou art redeemed!

This version was dense, chocolately and chewy. Just like a big brownie. Only with bits of Rolo. Having said that, using cake mix instead of flour means the recipe’s not as exciting. You’ll lose points at the next cribbage night in terms of shock value, but you’ll make up for those points in taste.

Stephanie, thanks for the tip! Reader Recipe Month continues on Monday with something that’s a little, er, hard, to describe.

Do YOU have a caker recipe to share? Email it to me at cakercooking at gmail dot com. I'll do my best to feature it in an upcoming post!

Serve with a side of – what else? – Rolo ice cream.


Source: Caker Stephanie

Monday, 9 September 2013

Reader Recipe: Ice Cream Bread


September is Reader Month! For the rest of the month, I'm featuring a reader recipe every Monday and Friday. Who’s jealous of my life? [insert cricket FX]

I’m starting things off with the strangest recipe I’ve seen in a while – and that’s saying a lot. I was first sent the recipe for ice cream bread by fellow blogger, Jenny. Then my sister Sue sent me a recipe book that her work colleagues put together. Lo and behold, there was ice cream bread again. I figured it was one of those signs. Like locusts.

Alls you do is mix ice cream with self-rising flour. I used peanut butter chocolate ice cream and threw in some old chocolate chips I had lying around. Then I brought it into work for a taste test. Comments ranged from “good” to “so-so” to “it tastes like an old cupboard.” (That could’ve been the chocolate chips.)

Anyways, what ice cream bread tastes like is besides the point. In the world of caker cookery, it’s the thrill of revealing what our food is made with that really counts. And once you unveil your magic ingredient, you’ll have every caker going back for seconds, old cupboard taste or not.

See you on Friday!

2 cups of your favourite ice cream, softened
1 and 1/2 cups of self-rising flour (see note)

Preheat your oven to 350 degrees. Grease and flour an 8×4 inch loaf pan. Mix the ice cream and flour together in a bowl just until combined. Smooth it out so it looks even. Bake for 45 minutes or until toothpick inserted comes out clean. Cool for a while and then serve. If you don’t have self-rising flour, simply use regular flour! For every cup of flour add 1 1/2 tsp baking powder and 1/2 tsp salt (sift together).

Note: I got into an argument with the woman at the bulk store because I said cake flour was the same thing as self-rising flour. She said it wasn’t. Turns out she was right, so I can never go back to that store again. Anyhoo, I used the flour/baking powder/salt option, but my loaf seemed kind of flat. Maybe my pan was too big.

Source: Sue's work cookbook

Friday, 6 September 2013

September is Reader Month!


Well, after the brouhaha of Knoxapocalypse, I thought it was only fitting to turn my attention back to you, my Caker Cooking readers. For the rest of the month, I'll feature not one but two reader recipes every week! (God help my arteries.)

Warning: some of these recipes are pretty risqué. I might have to put a parental advisory on this blog by the time I'm done.

See you Monday with our first reader recipe!

Brian


Monday, 2 September 2013

Knoxapocalypse: Maple Fluff


This week, I’m participating in something called “Knoxapocalypse” with other food bloggers from far-away places like England and the United States. We all swapped recipes that called for gelatin. I got something called Maple Fluff, courtesy of Bitter Sweet Susie.

Folks, Maple Fluff whipped me into a frenzy. It took an hour to make, which is 58 minutes longer than most caker recipes. Then there were all these phrases I’d never heard before, like “stir constantly” and “egg whites.” Honestly, I was going bananas.

So was the end result worth it?

Well, it looked like chunky, taupe vomit going into the fridge. (I may have folded in the egg whites too soon, but I was getting impatient, what with Mother hollering that it was time for Mystery Detectives on the Nancy Grace channel.) But I have to say – Maple Fluff tasted fan-fluffing-tastic. Kind of like a maple custard tart. Only better. Because it was a big maple custard tart.

Would I eat it again? You bet. Would I make it again? Hell, no.

2 tablespoons unflavoured gelatin
¼ cup cold water
1 pint cream
2 eggs, separated
1 cup maple sirup (see note 1)
½ cup shredded coconut
¼ teaspoon salt
½ teaspoon almond extract.

Soften gelatin in cold water. Heat cream over hot water, then pour slowly over slightly beaten egg yolks. Return mixture to double boiler and cook 5 minutes, or until it starts to thicken, stirring constantly. Remove from heat and stir in softened gelatin. Add maple sirup and cool. When mixture begins to thicken, add coconut, salt and almond flavoring. Beat egg whites until stiff but not dry and fold into mixture (see note 2). Pour into individual molds and chill until firm (see note 3). Serve plain or top with sweetened whipped cream, sprinkled with toasted coconut. Serves 8.

Note 1: Yes, I know how to spell syrup. But that’s how the book spelt it.

Note 2: I didn’t get salmonella, but I was worried.

Note 3: Do you have 8 individual molds sitting in your cupboard, just waiting to be used? I sure don’t. (I don't even have 8 friends.) So I poured everything into one big mold.

So what did my fellow food bloggers get up to? Check out their Knoxapocalypse creations, but BE WARNED. Some of this stuff ain't pretty:

Betty Davis' Mustard Ring made by Retro Recipes
Melon Mousse made by Bitter Sweet Susie
Olive Wreath Mold made by Dinner is Served
Molded Avocado and Tuna made by The Retro WW Experiment
Turkey in Aspic by Silver Screen Suppers
Pickle and Pineapple Salad by Mid-Century Menu


Source: 250 Delectable Desserts

Saturday, 31 August 2013

Knoxapocalypse!

The moon has turned red, there's a pale horse running around and cakers are eating vegetables. These prophetic signs can only mean one thing – Knoxapocalypse is coming!

On Monday, I'm teaming up with other retro food bloggers to showcase gelatin-inspired recipes. And trust me, you won't believe some of the crap you can solidify. 

See you Monday!


Monday, 26 August 2013

Eggs in Bologna Cups

Banana optional


Everywhere I go these days, I smell erasers and terror. That can only mean one thing – another school year is around the corner. This week, I'm posting a kid-friendly recipe because it’s never too early to teach kids the fine art of caker cooking. After all, if our traditions fall away, what will happen to all those employees at Kraft?

I took this recipe from a cookbook I had as a kid, Betty Crocker’s Cookbook for Gay Boys & Girls. Yes, I still own the original and have the booger-crusted pages to prove it. How many Saturday nights did I spend slaving over these recipes while other kids were out having normal childhoods? Lots, I tell you.

These Eggs in Bologna Cups would be a welcome treat for any kid coming home for lunch after an intense morning of colouring maps of the western hemisphere. And talk about nutrition! Each serving contains an entire teaspoon of milk! In my household, the milk would’ve been replaced with coffee whitener mixed with water.

Happy back to school, kids. Those map-colouring skills are going to come in real handy one day. You just wait.

PS - Don't miss next week's post. I'm teaming up with five other food bloggers for "Knoxapocalypse." It's about to get real firm around here. After that, I'll devote the rest of the month to reader recipes. Stay tuned!

2 teaspoons shortening
6 slices bologna about 4 inches across
6 eggs
6 teaspoons milk
salt
pepper
paprika

Heat oven to 375°. Grease 6 muffin cups with some shortening, using pastry brush. Melt 2 teaspoons shortening in skillet over low heat. Place 3 slices bologna in the skillet and fry until the edges curl and the centres puff. Lift each slice with tongs into a muffin cup and press down so the slice fits the cup. Repeat with remaining bologna slices. Break 1 egg into the centre of each bologna slice to hold it down. Pour 1 teaspoon of milk over each egg. Sprinkle eggs lightly with salt, pepper and paprika. Bake uncovered for 15-20 minutes or until eggs are set. Loosen each bologna cup with knife and lift to platter with spoon.


Source: Betty Crocker’s Cookbook for Boys & Girls